


Description
Story ~
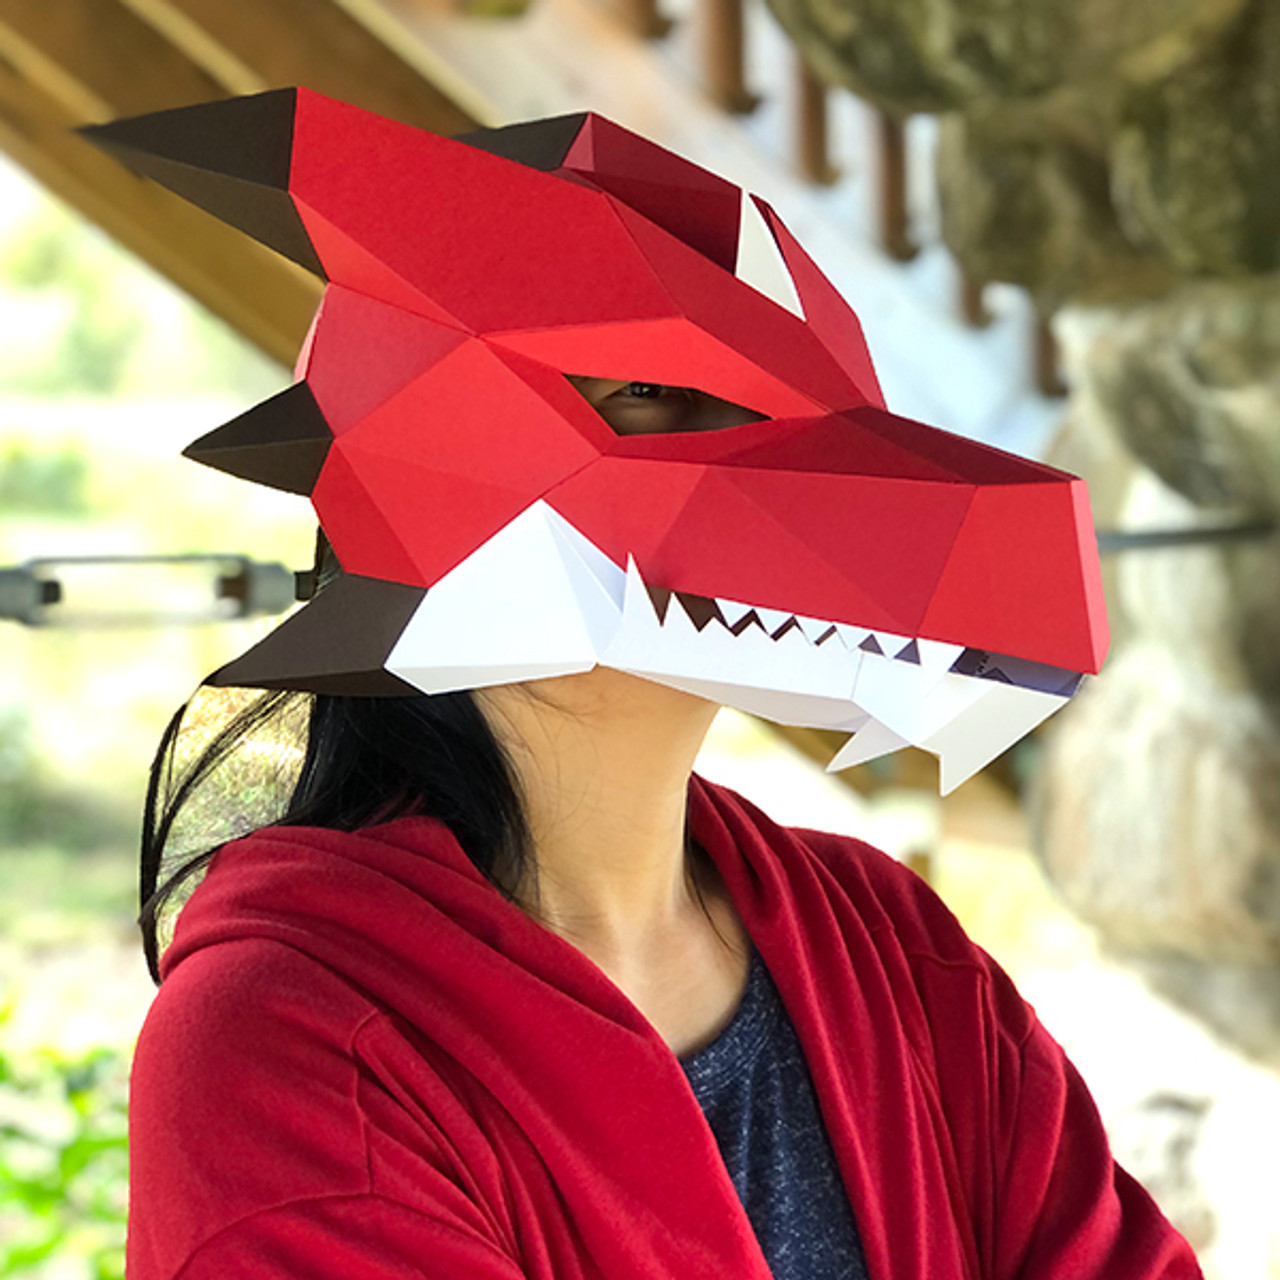
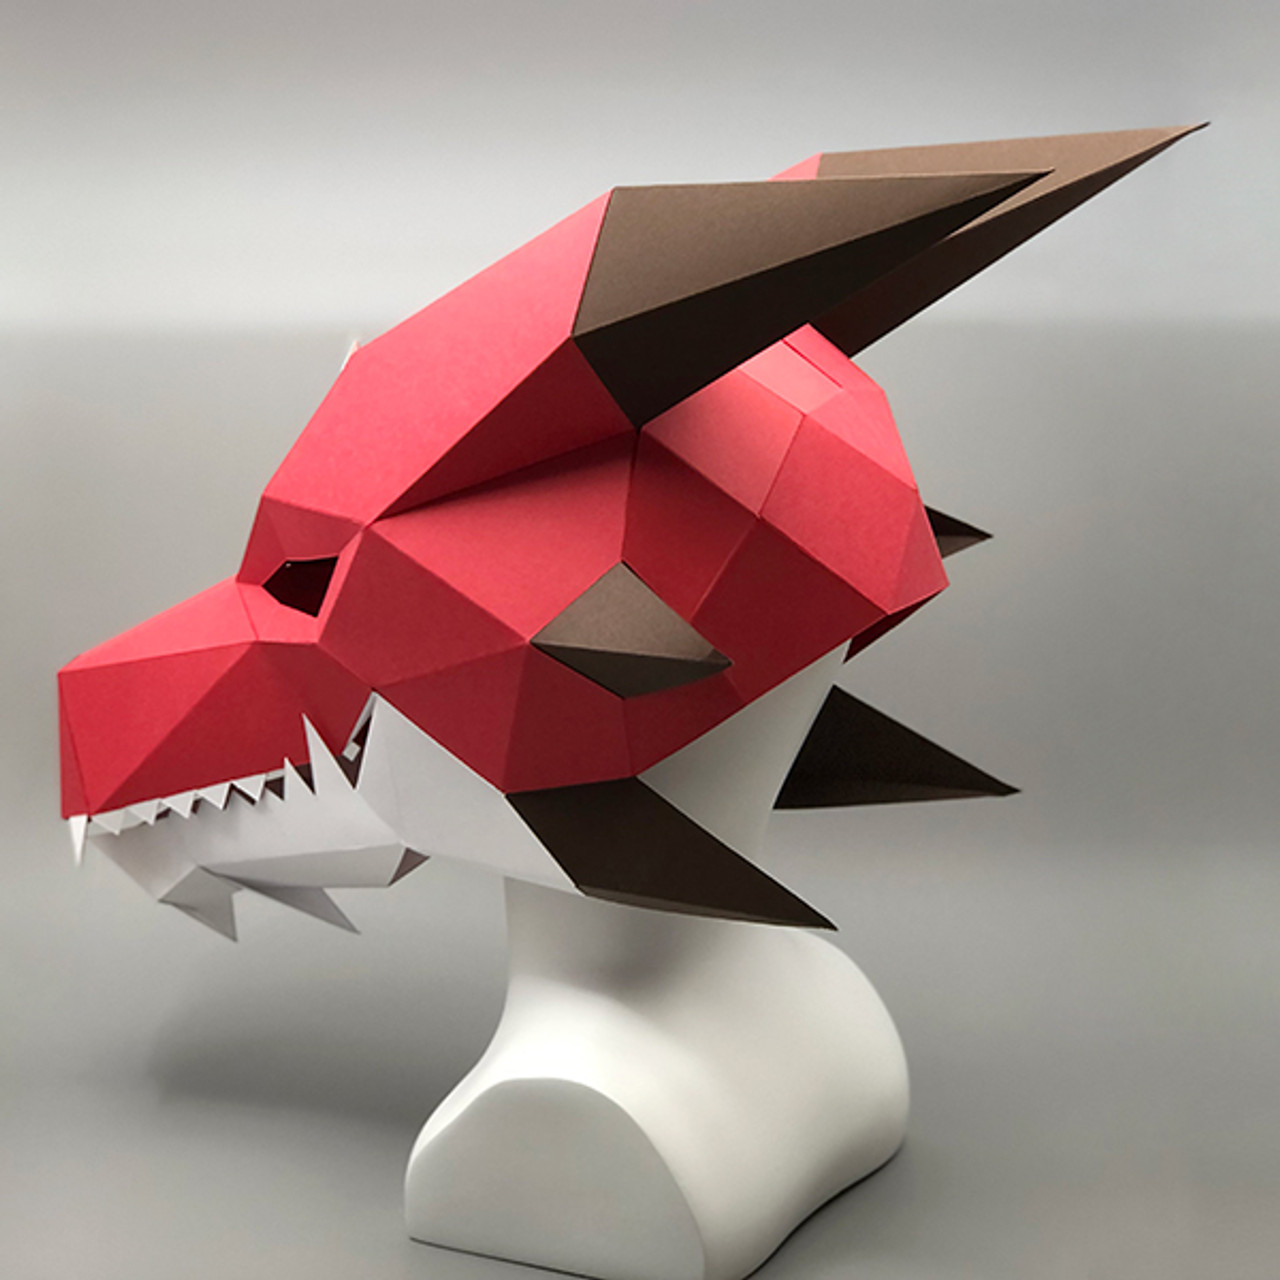
Dragon is legendary creature in Japanese mythology and folklore. Japanese dragon myths amalgamate native legends with imported stories about dragons from China, Korea and Pakistan. The style of the dragon was heavily influenced by the Chinese dragon. Like these other East Asian dragons, most Japanese ones are water deities associated with rainfall and bodies of water, and are typically depicted as large, wingless, serpentine creatures with clawed feet. The modern Japanese language has numerous "dragon" words, including indigenous Tatsu from Old Japanese ta-tu, Sino-Japanese ryū or ryō 竜 from Chinese lóng 龍, nāga ナーガ from Sanskrit nāga, and doragon ドラゴン from English "dragon".
Difficulty

Type

Build Time

- Access to a printer
- Colored cardstock:
Option A: Print directly on cardstock *
Colored cardstock (US letter-size or A4), 10 red sheets, 4 white sheets, and 3 dark sheets (or any 3 colors of your choosing).
Option B: The transfer method **
- 17 sheets of US letter-size or A4 printer paper.
- Sheets of large colored cardstock or chipboard *
- A glue stick or spray adhesive. - Glue: (A strong glue stick, i.e. Pritt or Double Sides Adhesive Roller/Tap Runner) ***
- Ruler, Craft Knife, and 2mm Embossing Stylus (scoring tool)
- Substitutes for the Embossing Stylus: A bone folder, butter knife, or a non-working ballpoint pen. - Optional: Coverstock and tape for headband
* Recommend: 270+ gsm thick paper on templates and 176 gsm thick paper on decoration.
** The Transfer Method
Print all templates on regular printer paper. Trim the templates to the approximate size, and then glue the trimmed templates to the heavy cardstock paper (or thin chipboard). Your printed templates will end up on the inside of the finished item. Make sure the templates are well bonded to the card.
***
Use glue with a fast curing time so you don’t have to wait for parts to dry before continuing.
