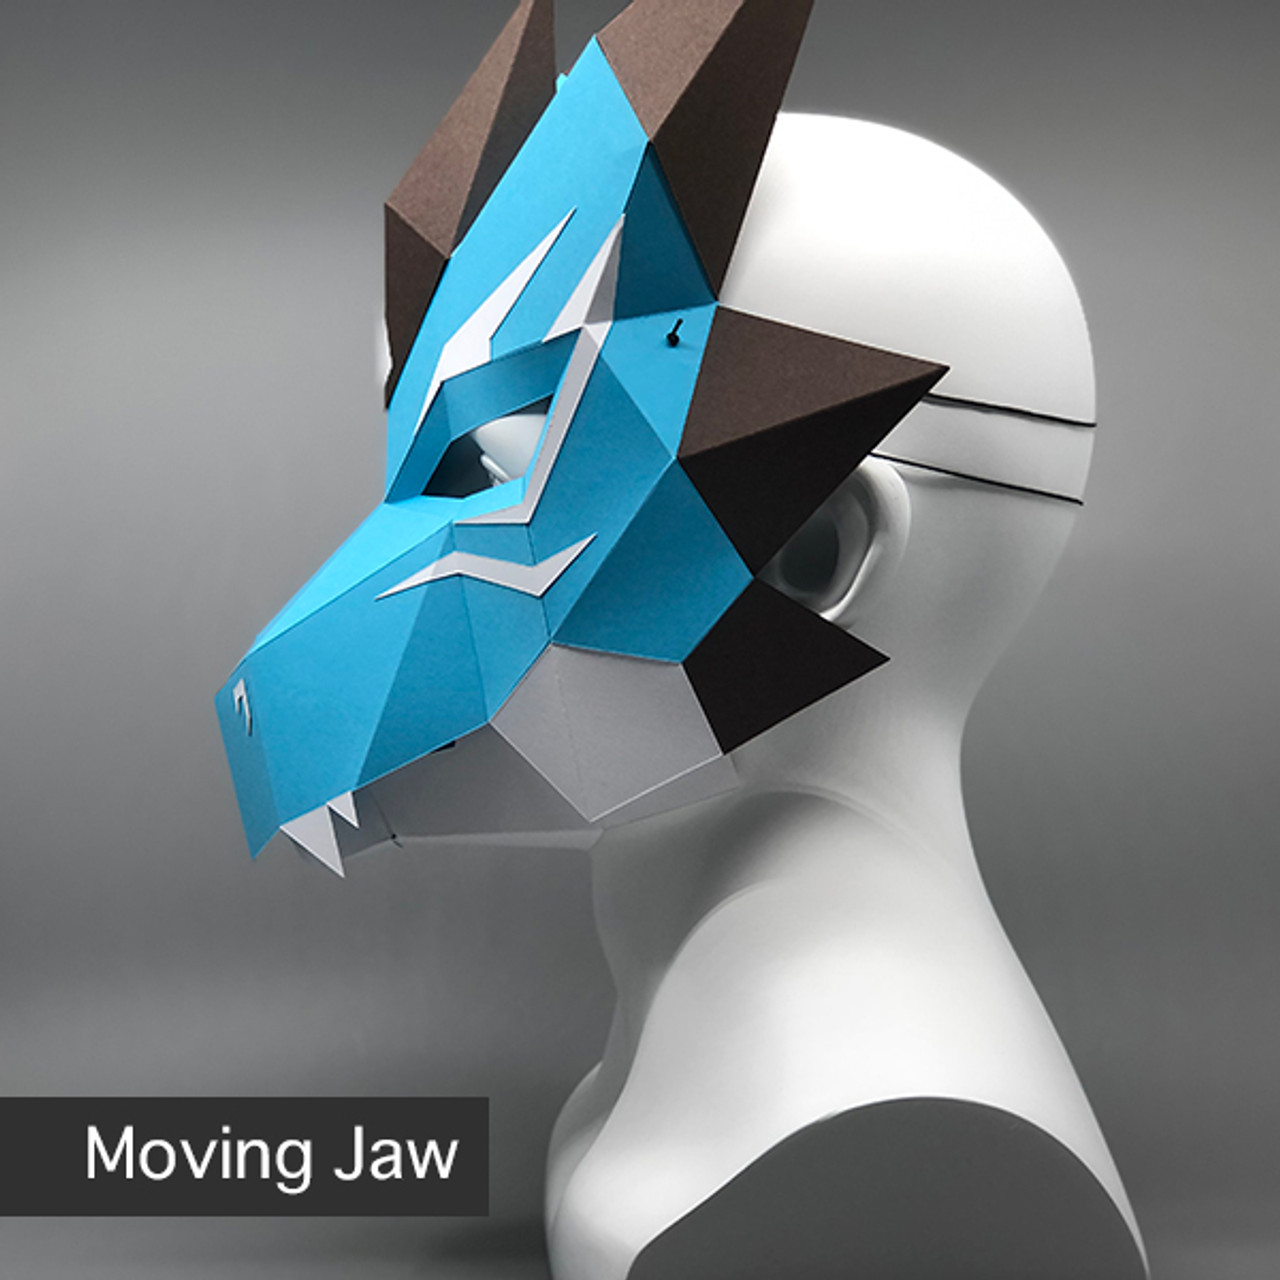
Azure Dragon - Moving Jaw Mask
$6.69
AKA
青龍 / Blue-green Dragon
2 Styles
Regular and Moving Jaw
Story ~
Azure is a large blue-green dragon, also known as Qinglong(青龍) in Chinese and Seiryū(せいりゅう) in Japanese, is one of the Dragon Gods who represent the mount or chthonic forces of the Five Regions' Highest Deities. He spans seven of the twenty-eight Chinese constellations, taking up one quarter of the entire sky. The Azure Dragon represents the east and the spring season. It is also sometimes referred to as the "Bluegreen Dragon of the East".
In Japan, the Azure Dragon is one of the four guardian spirits of cities and is believed to protect the city of Kyoto on the east. The Azure Dragon is represented in the Kiyomizu Temple in eastern Kyoto. Before the entrance of the temple there is a statue of the dragon, which is said to drink from the waterfall within the temple complex at nighttime. Therefore, each year a ceremony is held to worship the dragon of the east.
Difficulty

Type

Build Time

* Recommend: 270+ gsm thick paper on templates and 176 gsm thick paper on decoration.
** The Transfer Method
Print all templates on regular printer paper. Trim the templates to the approximate size, and then glue the trimmed templates to the heavy cardstock paper (or thin chipboard). Your printed templates will end up on the inside of the finished item. Make sure the templates are well bonded to the card.
***
Use glue with a fast curing time so you don’t have to wait for parts to dry before continuing.