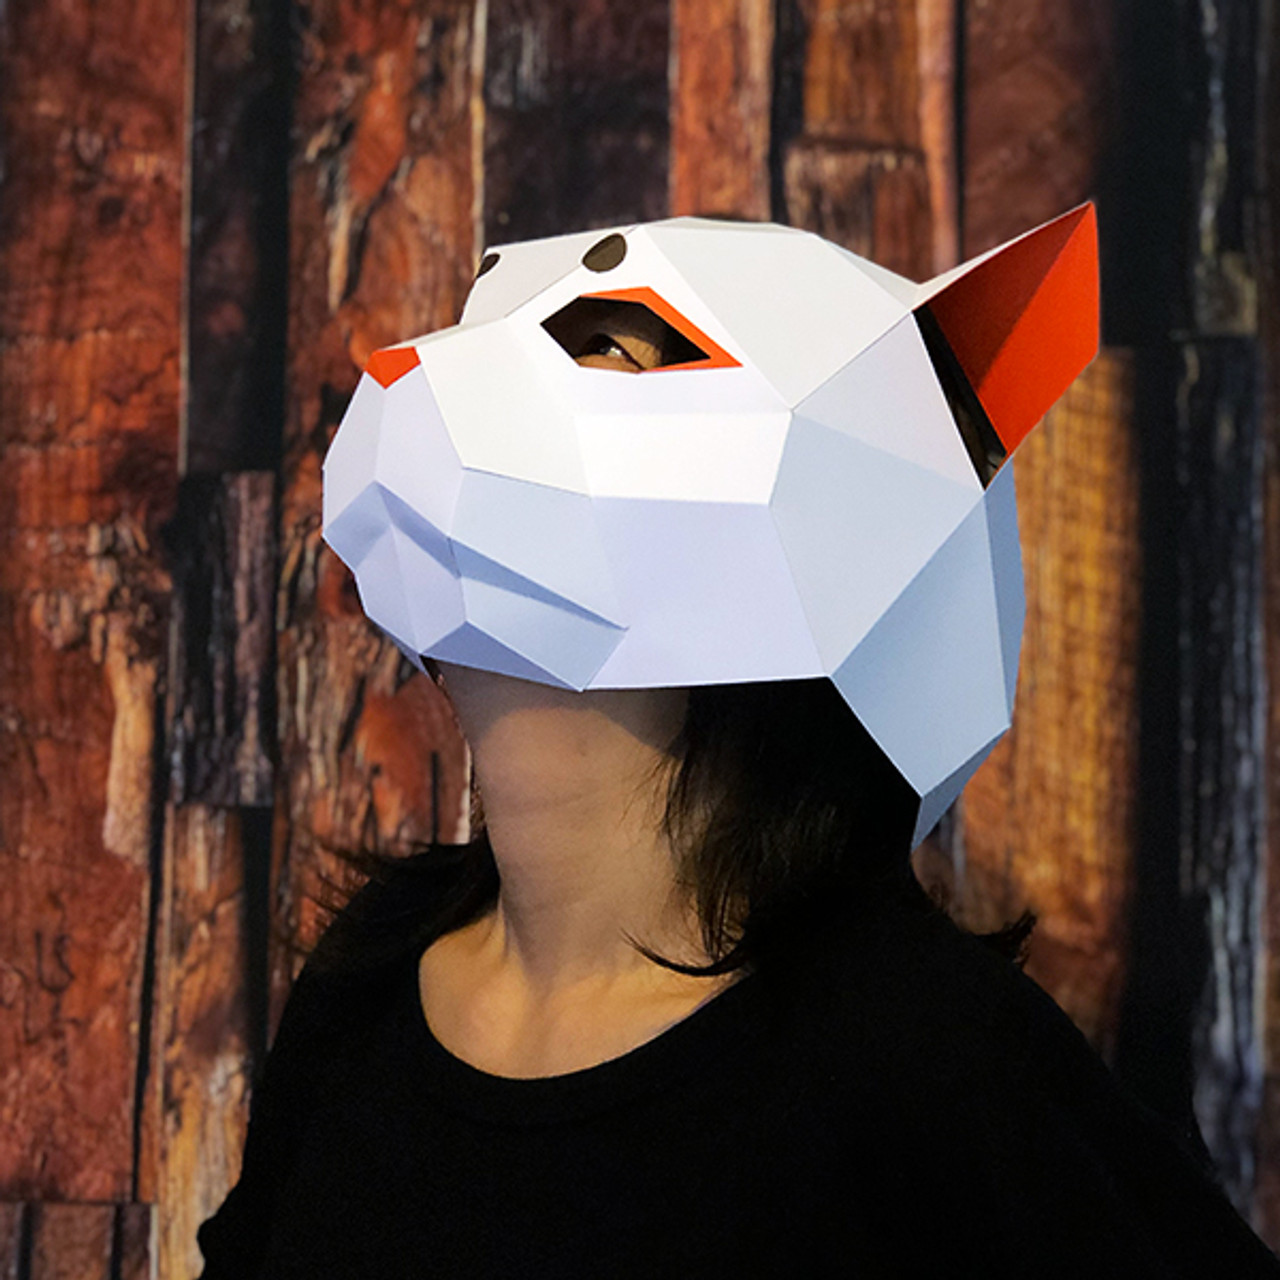
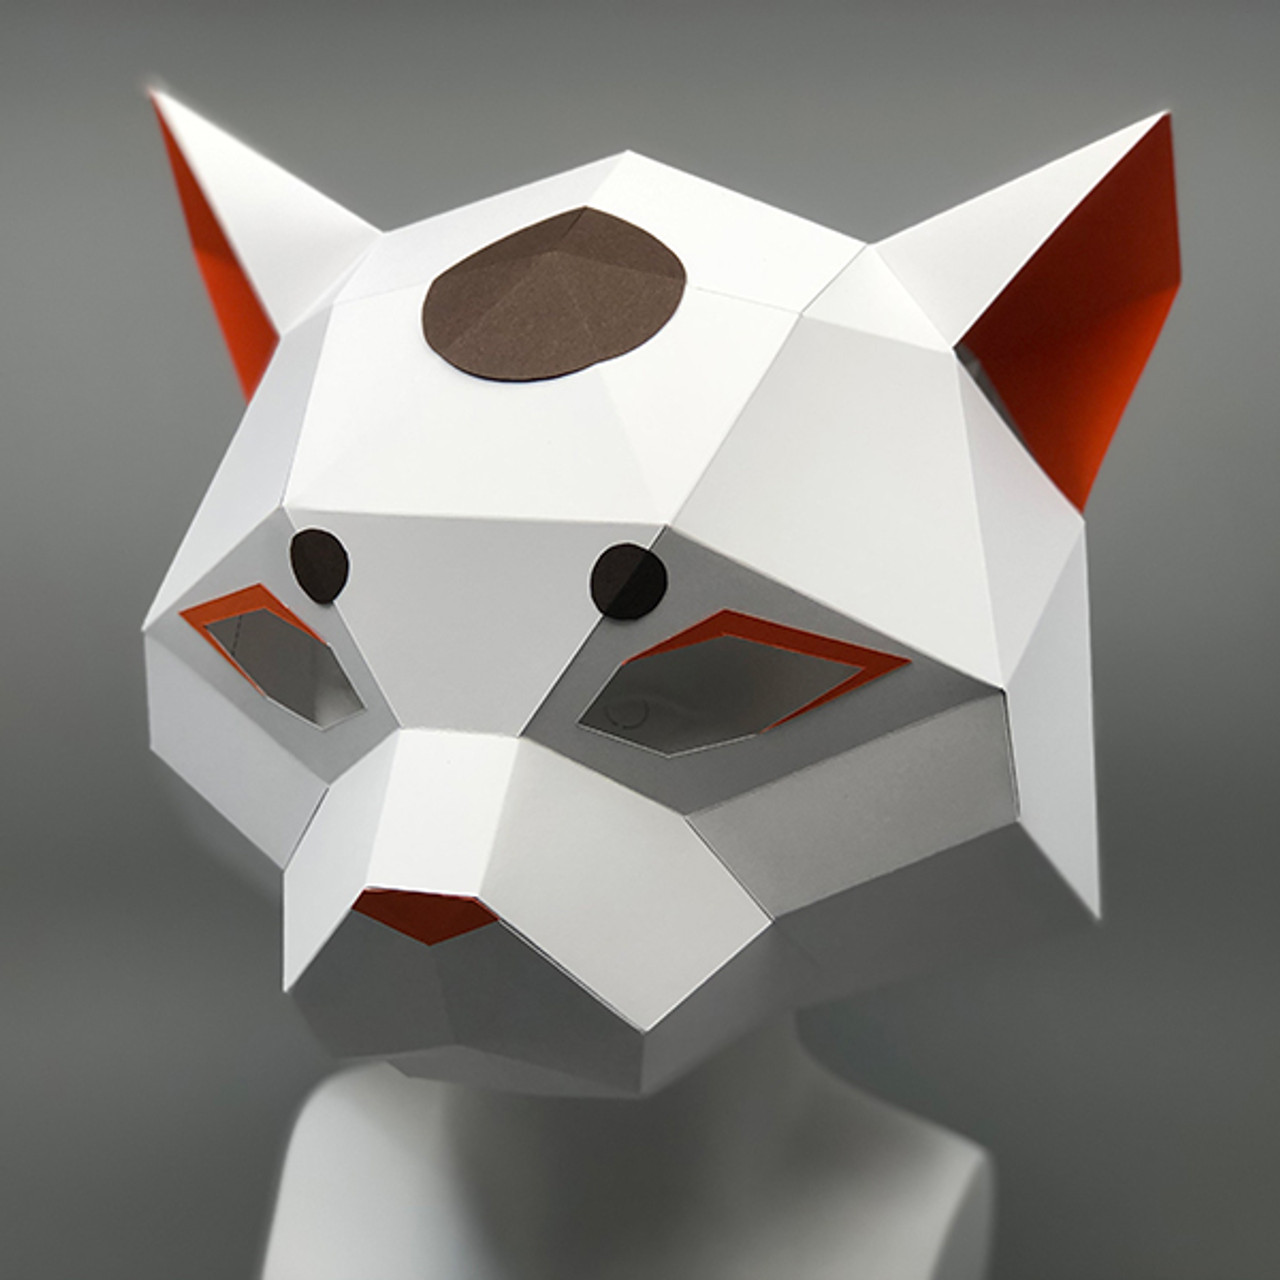
User Reviews

great

Posted by JoAnn

easy to use and great!

love the mask

Posted by Sylvia

love the mask, can't wait to start building it :)

love the design

Posted by Vampiressenjeru

Once I got used to it everything was very clear and made a lot of sense. I would definitely do one of these patterns again. I just changed the circle to a crescent moon.

loved it

Posted by Midori

I ordered this as a project to do on zoom with my nieces and nephews -- they loved it and my friends also saw the photos and wanted to do this !


Description

Story ~

Nekomata (original form: 猫また, later forms: 猫又, 猫股, 猫胯) are a kind of cat yōkai described in Chinese and then Japanese folklore, classical kaidan, essays, etc.

Where nekomata would devour humans, nekomata that shapeshift into humans and deceive people, like Mount Nekomadake, the legends sometimes are named after the name of the associated mountain. Regarding Nekomatayama and altogether disregarding folklore, there are in fact large cats that attack humans.

- Wikipedia


About this item

Difficulty

Difficulty: Level 3

Type

Type: Head Mask

Build Time

Build Time: 2 hours
What you need
  • Access to a printer
  • Colored cardstock:
    Option A: Print directly on cardstock *
    Colored cardstock (US letter-size or A4), 10 white sheets, 2 orange sheets, and 1 dark brown sheet (or any 3 colors of your choosing).
    Option B: The transfer method **
    - 13 sheets of US letter-size or A4 printer paper.
    - Sheets of large colored cardstock or chipboard *
    - A glue stick or spray adhesive.
  • Glue: (A strong glue stick, i.e. Pritt or Double Sides Adhesive Roller/Tap Runner) ***
  • Ruler, Craft Knife (or scissors), and 2mm Embossing Stylus (scoring tool)
    - Substitutes for the Embossing Stylus: A bone folder, butter knife, or a non-working ballpoint pen.
Important

* Recommend: 270+ gsm thick paper on templates and 176 gsm thick paper on decoration.

** The Transfer Method
Print all templates on regular printer paper. Trim the templates to the approximate size, and then glue the trimmed templates to the heavy cardstock paper (or thin chipboard). Your printed templates will end up on the inside of the finished item. Make sure the templates are well bonded to the card.

***
Use glue with a fast curing time so you don’t have to wait for parts to dry before continuing.