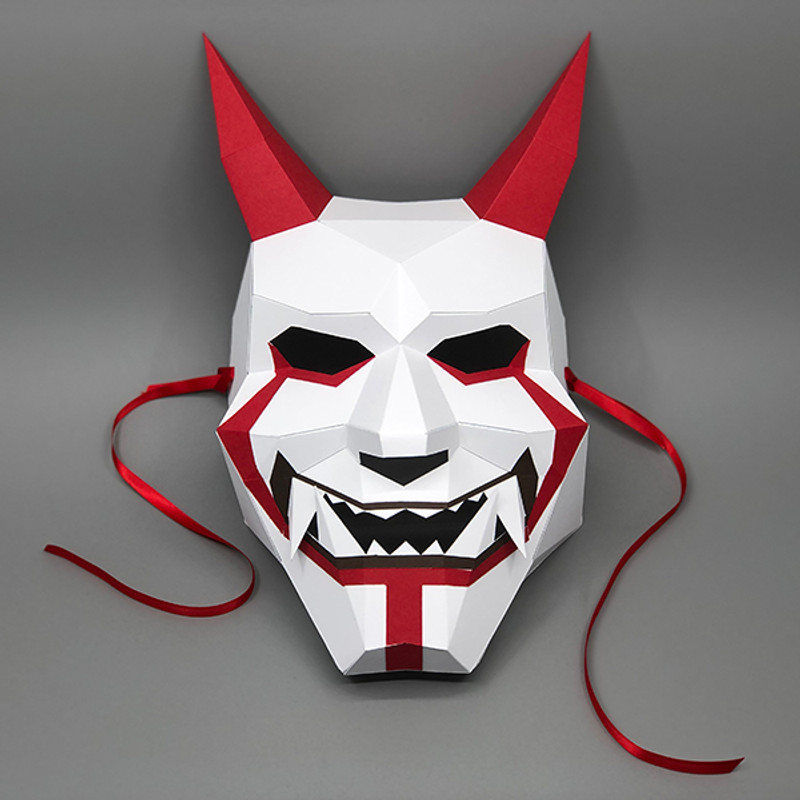
Description
Story ~
Oni (鬼 - おに) is a kind of yōkai, demon, ogre, or troll in Japanese folklore. They are typically portrayed as hulking figures with one or more horns growing out of their heads. Stereotypically, they are conceived of as red, blue or white-colored, wearing loincloths of tiger pelt, and carrying iron kanabō clubs. This is a symbol of the dark side.
Difficulty

Type

Build Time

- Access to a printer
- Colored cardstock:
Option A: Print directly on cardstock *
Colored cardstock (US letter-size or A4), 4 white sheets, 2 red sheets, and 1 dark brown sheet (or any 3 colors of your choosing).
Option B: The transfer method **
- 7 sheets of US letter-size or A4 printer paper.
- Sheets of large colored cardstock or chipboard *
- A glue stick or spray adhesive. - Glue: (A strong glue stick, i.e. Pritt or Double Sides Adhesive Roller/Tap Runner) ***
- Ruler, Craft Knife (or scissors), and 2mm Embossing Stylus (scoring tool)
- Substitutes for the Embossing Stylus: A bone folder, butter knife, or a non-working ballpoint pen. - Hole puncher and two 18" ribbons (or strings)
* Recommend: 80 lb to 100 lb (216 - 271 gsm) cardstock on templates and 65 lb (176 gsm) cardstock on decoration.
** The Transfer Method
Print all templates on regular printer paper. Trim the templates to the approximate size, and then glue the trimmed templates to the heavy cardstock paper (or thin chipboard). Your printed templates will end up on the inside of the finished item. Make sure the templates are well bonded to the card.
***
Use glue with a fast curing time so you don’t have to wait for parts to dry before continuing.


